Ever wonder how we here at Griffin’s Floral Design build your wedding bouquet? Read on to find out.
Step One
After we meet with you and get a sense of your vision, a lot of the important work is already done. We know when you’re having your wedding, which tells us which flowers are in season or available. We know what the style of your wedding is, which tells us a lot about what the mood of the bouquet should be. Finally, we know about any other considerations you may have when it comes to the most important bouquet of your life—everything from allergenic concerns to personal dislikes to which flowers you want to carry over into the bridesmaids bouquets or other decor.
Step Two
We time the making of your bouquet to perfectly correspond with its debut. We ensure that the flowers are fresh and kept refrigerated until we make the bouquet, which is usually no earlier than the day before your wedding.
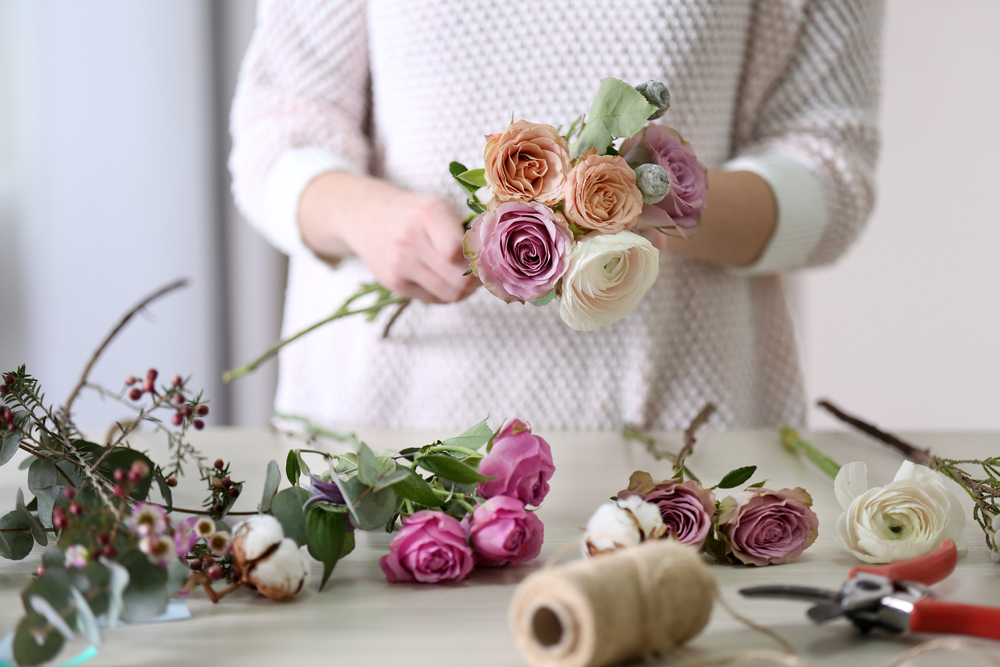
Step Three
Your bouquet usually centers around 2-4 base flowers—think rose, ranunculus or peony—and we start with those. If your bouquet is more compact, those are centered; if it is more free-flowing, these can be brought together with floral tape in a more askew fashion. Plenty of stem is left exposed at the bottom while we wrap the foundational flowers with tape. Before we start, thorns and additional leaves have been removed, and we’ve kept the primary stems at the same length.
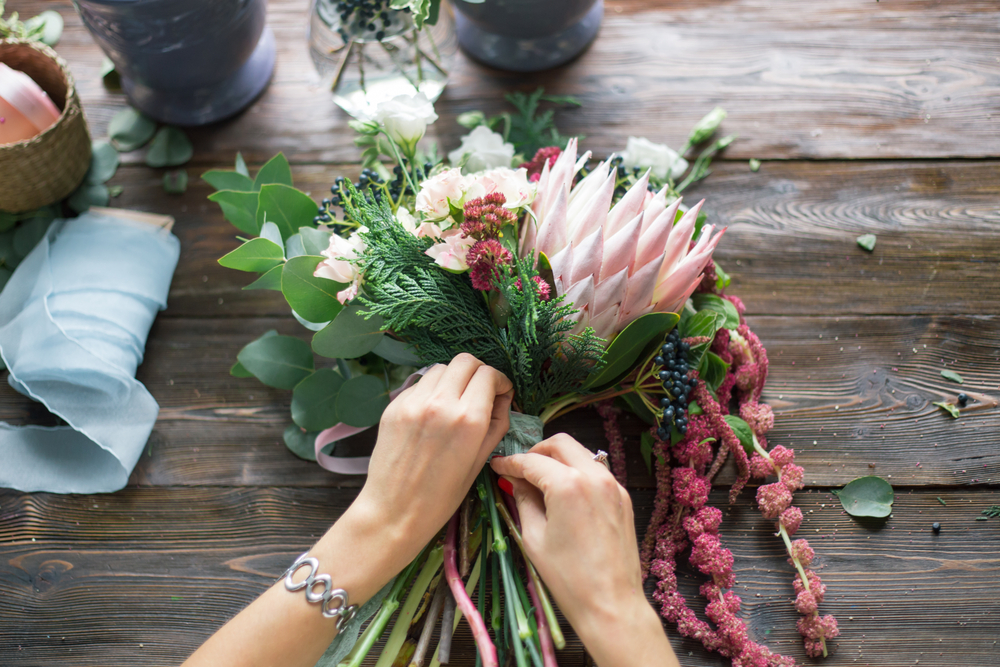
Step Four
From here, we add flowers to the base. This is where the true art comes in. We blend and experiment until we have the look we’re after, building to the stipulated scale. As we work, we secure with floral tape. Green are added here too.
Step Five
The floral tape is wrapped with ribbon or other fabric to hide it. We trim the stems as needed, and voila! Your bouquet is ready for its close-up.